How to Make a Watermark That's Hard to Remove
A watermark only works if it stays on the photo. The problem is that a small logo in the corner is the easiest thing in the world to remove: one crop, or one swipe with an AI "object eraser", and it is gone. If you share your work online, it is worth spending two minutes to make your watermark harder to take off.
No visible watermark is impossible to remove. Someone with enough time and skill can rebuild almost anything. The goal is different: make removal slow and annoying enough that most people don't bother, and make sure a removed watermark leaves obvious damage behind.
1. Don't put it in the corner
Corners are the first place people crop. If your mark sits in the bottom-right corner, a thief only needs to cut off a thin strip and the image still looks complete. Move the watermark towards the middle third of the image, or place it over an important part of the subject, such as the product, the person or the main building. Removing it then means damaging the part of the photo that people actually want.
2. Overlap detail and texture
Erasing tools work best on flat, simple areas like sky, a plain wall or a studio background. They struggle when the watermark crosses hair, leaves, fabric, text or other fine detail, because the tool has to invent that detail from scratch. Place your text or logo where it overlaps several different textures and edges.
3. Use a tiled pattern for important images
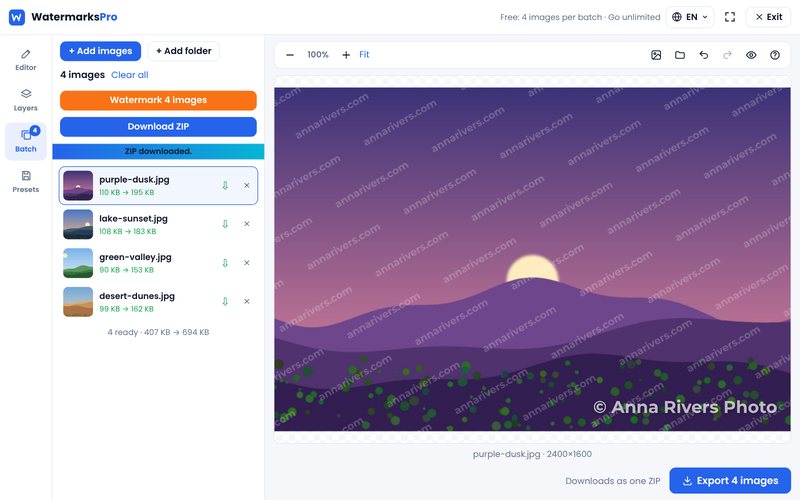
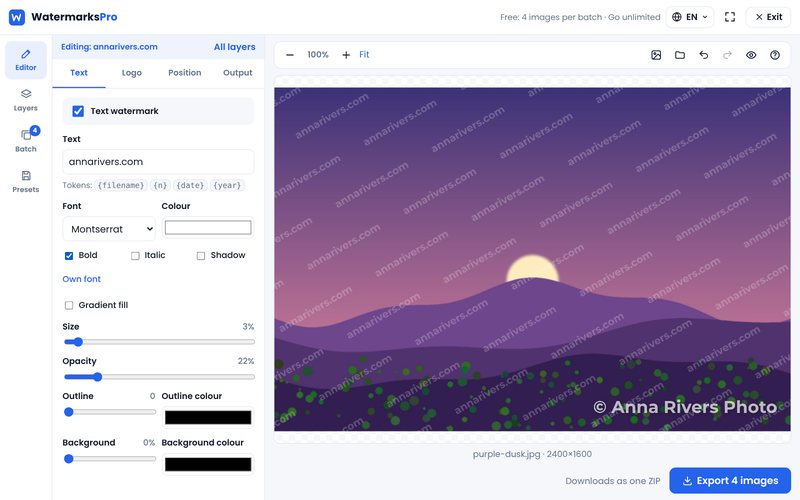
A single mark can be cloned out. A repeating pattern across the whole image is a different story: every copy has to be removed, and each repair leaves small mistakes that add up. Tiled watermarks are common on stock photo previews and client proofs for exactly this reason. In Watermarks Pro you can switch any text or logo layer to a tiled pattern and set the spacing and angle in a few clicks.
4. Rotate it
A watermark placed at an angle (for example 30 or 45 degrees) is harder to crop out than a horizontal one, because no straight cut removes it without losing a large part of the image. Diagonal marks also cross more of the subject, which helps with tip 2.
5. Use transparency, not a solid block
It sounds backwards, but a semi-transparent watermark is often harder to remove cleanly than a solid one. A solid block can simply be painted over. A see-through mark blends with the pixels underneath, so the original photo is mixed with the watermark everywhere it appears. An opacity between 25% and 50% usually protects the image while keeping it pleasant to look at.
6. Combine text and a logo
Two different elements are more work to remove than one. Use your logo plus a short line of text such as your website or social handle. Watermarks Pro supports several layers on the same image, so you can put the logo in one place, the text in another, and save both as a template for next time.
7. Never post the full-size original
The higher the resolution, the more useful a stolen copy is, and the easier it is to edit. For the web, export at the size you actually need (for example 1600 to 2048 pixels on the long edge). Keep your full-resolution, unwatermarked files offline or in private storage, and only send them to paying clients.
What a watermark can and can't do
- It can show who made the image, discourage casual copying, and bring people back to your website when the image is shared.
- It can't stop a determined person, replace copyright registration, or remove an image that has already been stolen. For those cases you still need your originals and dated files to prove ownership.
Quick checklist
- Watermark away from the edges, over the subject.
- Cross detailed areas, not flat sky.
- Use a tiled pattern for previews and proofs.
- Rotate the mark slightly.
- Keep opacity around 25 to 50%.
- Use a logo and text together.
- Post web-sized copies only.
You can apply all of this to a whole folder of photos at once with our free bulk watermark tool. Your images are processed in your browser, so they are never uploaded to our server.